I’m sure everyone is familiar with Cuties, especially if you have kids. A hybrid between a mandarin and sweet orange, “Cutie” California Clementines are at their peak. Available November through April, these juicy compact citrus fruits are a sweet treat and we have been enjoying them all season.
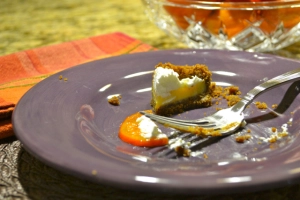
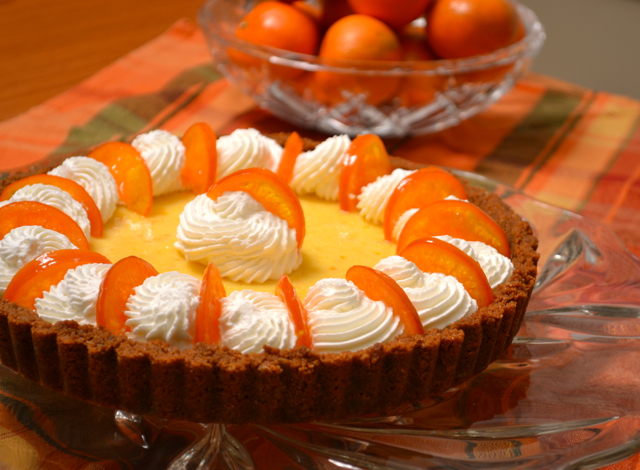
Flipping through my recipes looking for dessert ideas for the weekend, I came across a recipe for Key Lime pie and had an epiphany. Ok, a bit dramatic, but still an interesting plan. Why not switch out the lime juice and zest with mandarin orange juice and zest and substitute gingersnaps for the graham crackers. Sounds like a great combination, so I gave it a whirl. The result, a fabulously, light, creamy and quite orangey, sweet surprise.
Here’s what you’ll need:
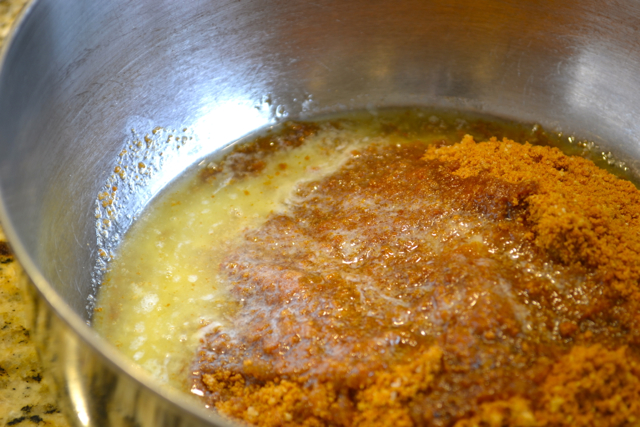
Gingersnap Crust (adapted from Martha Stewart)
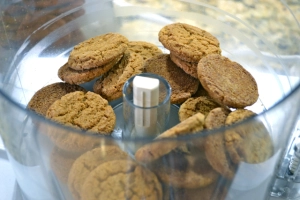
1 3/4 cups gingersnap crumbs (about 40 cookies, I used Archway)
1/4 cup light or dark brown sugar
1 teaspoon all purpose flour
1/2 teaspoon kosher salt
1/2 stick melted butter
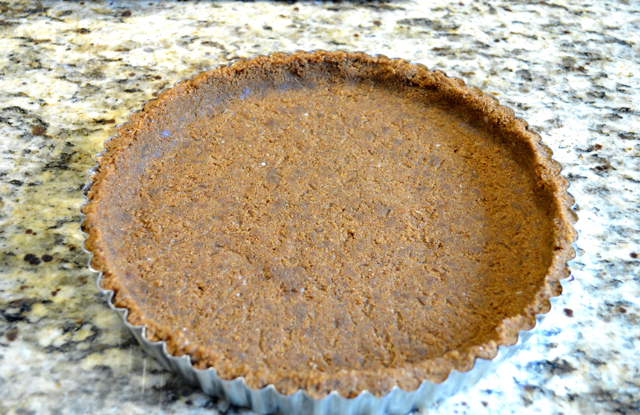
9 inch tart pan with removable bottom.
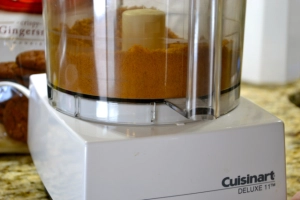
Preheat the oven to 350 degrees. Add cookies to bowl of a food processor and pulse until fine crumbs.
Transfer cookie crumbs to a medium sized mixing bowl and add brown sugar, flour and salt. Mix well.
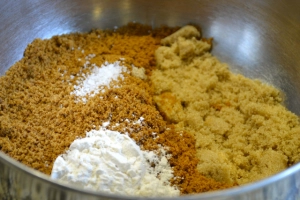
Add melted butter.

Combine cookie crumbs and butter, then transfer mixture to your tart pan.
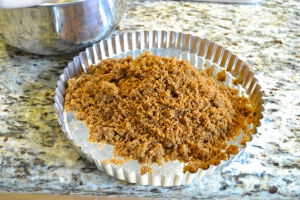
Press crumb mixture firmly on bottom and up the sides of the pan. Transfer tart pan to a foil lined baking sheet and into the oven. Bake for 8 minutes. Remove from oven and cool on a cooling rack while you prepare the filling. Reduce oven temperature to 325 degrees.

Here’s what you’ll need for the filling:
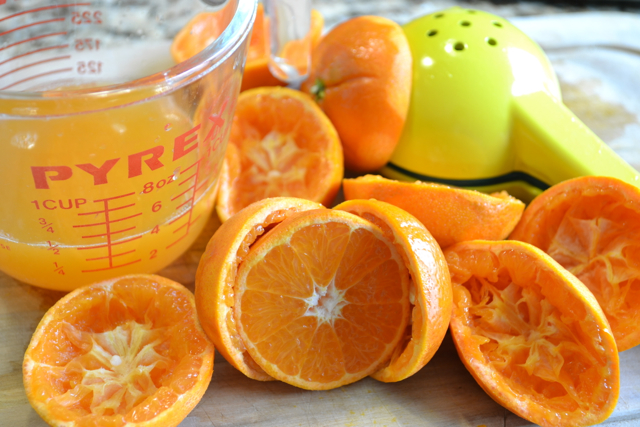
1/2 cup fresh squeezed mandarin orange juice (about 4/1/2 Cuties)
3 teaspoons zest (about 5 cuties)
4 egg yolks
1 14 oz can sweetened condensed milk
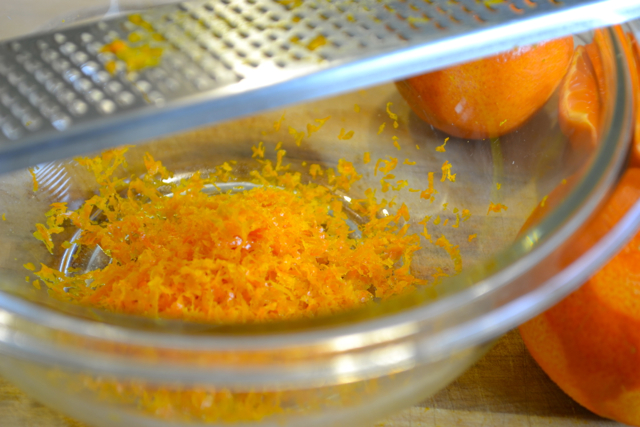
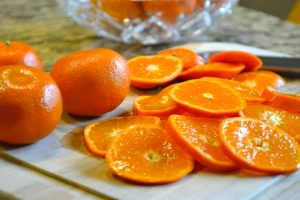
Start with zesting the cuties. Using a rasp zester, carefully remove the rind from the orange. Do not remove the white pith which is bitter tasting.

Next juice the Cuties using your preferred method.

In a large mixing bowl, beat the egg yolks with the juice and sweetened condensed milk. Add zest and stir into the batter.

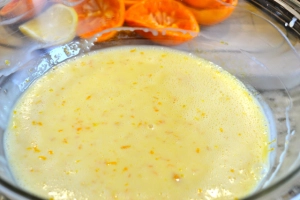
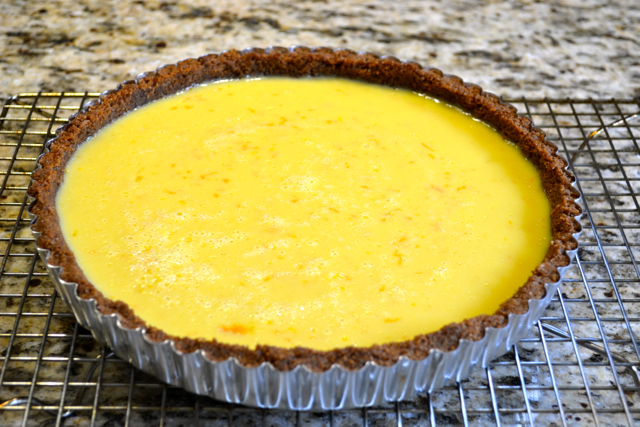
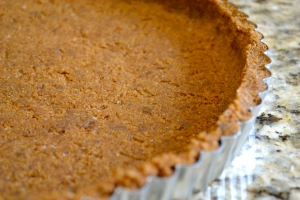
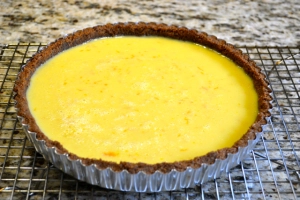
Pour batter into cooled crust.
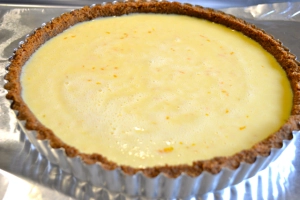
Bake for 17 minutes. The center should be set, but jiggle slightly when lightly shaken. Cool completely on wire rack then move to the refrigerator to chill.
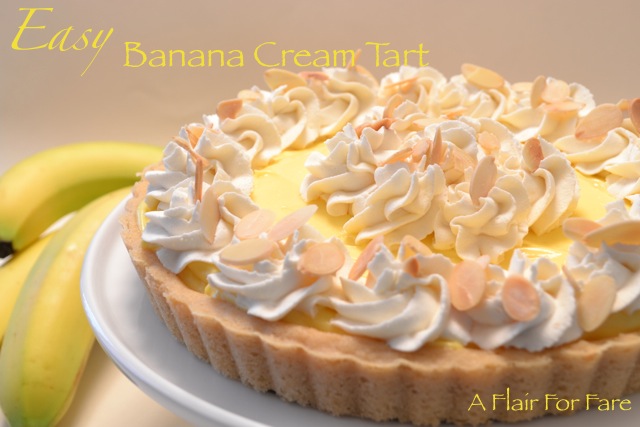
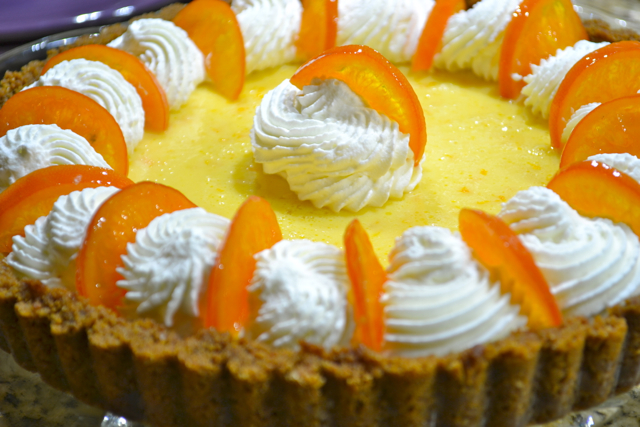
How you wish to garnish is entirely up to you. These next steps are totally optional. I chose to pipe freshly made whipped cream onto the top of the tart and added candied mandarin orange slices for a special touch.
For the whipped cream:
Pour 1 cup chilled heavy whipping cream to the bowl of an electric mixer fitted with a whisk attachment. (for best results, chill the bowl and the beater before using). Add 1 tablespoon sugar. Start on low and gradually increase speed to medium high. (8 on a KitchenAid stand mixer) The cream will start to thicken and soft peaks will form. Continue until the cream stands in stiff, sharp peaks. This only takes a few minutes; watch the cream closely and do not over whip or you might end up with butter. Add whipped cream to a piping bag with decorative tip and pipe decorative swirls onto the tart as you wish. I used Wilton large tip 6B. If you don’t want to pipe the cream and prefer just to cover the top of the tart with it, increase the amount of cream to 1 and 1/2 cups and add another tablespoon of sugar.
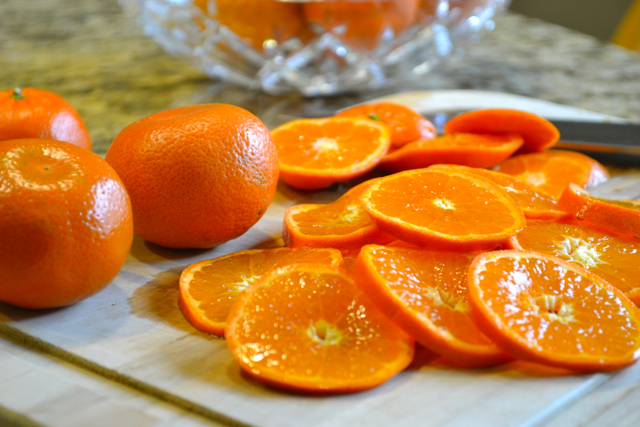
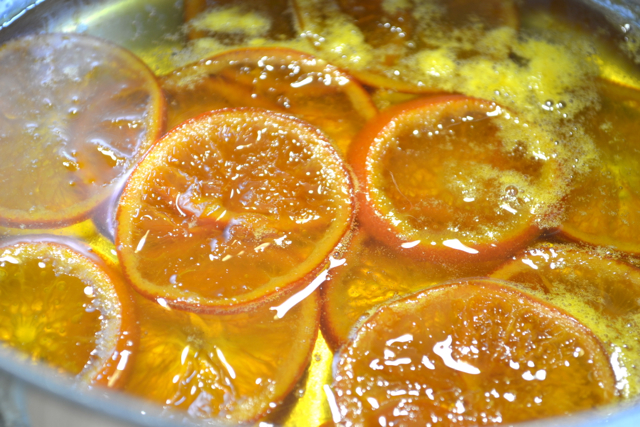
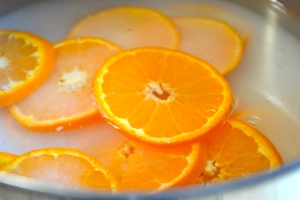
For the candied oranges, slice 2-3 Cuties into 1/8 inch slices.
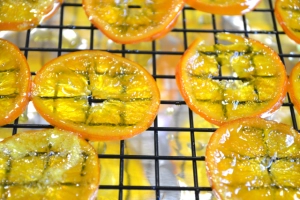
Bring 1 cup water and 1 cup sugar to a low boil. Add fruit slices and simmer on low for about 45 minutes until the rind is very soft and the fruit is translucent. Turn fruit every 15 minutes.

Transfer fruit to a wire rack and cool completely.
Slice in half and insert in between swirls of whipped cream.

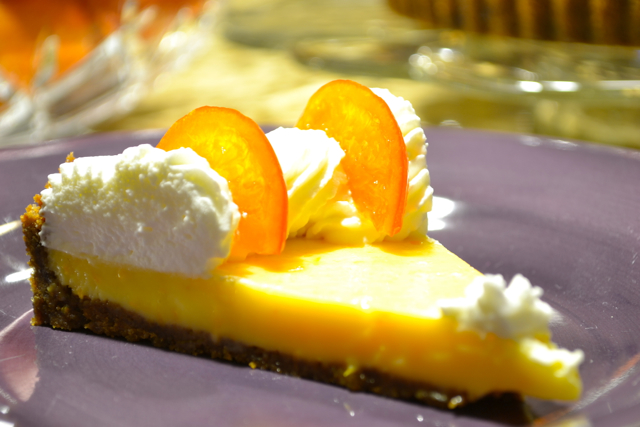
Now, slice this puppy up and partake in all the goodness.

Goodness, to the very last bite.